What Happens at U.S. Immigration & Customs?
Prepare for your U.S. arrival with essential tips! Learn how to pack, speed up customs, and navigate immigration to start your university journey stress-free.
June 9, 2025

Check your personalized list of shortlisted universities now!
Easily track application deadlines, requirements, and acceptance chances for your shortlisted universities, get personalized recommendations to refine your list further.

Traveling to the U.S. as an international student can be exciting but also overwhelming. From packing to navigating airport procedures, the process can feel like a maze, especially when you're heading to your new university. But don't worry! With a little preparation and understanding, you can breeze through the arrival process and focus on what really matters, starting your academic journey. In this guide, we'll walk you through the essential steps you need to take before and during your arrival, covering everything from packing crucial documents to speeding up customs procedures. Let's get you set up for a smooth transition into your U.S. adventure.
1. Final Document Check ‑ Don't Leave Home Without These

Pro‑Tip: Snap phone photos + scan PDFs of all documents and save them in a secure cloud folder. If the originals get lost, digital copies speed replacements.
2. Carry‑On vs. Checked: Where to Pack Important Papers
-
Carry‑On = Lifeline
Keep all original documents, plus medications, electronics, and one change of clothes in your backpack/hand luggage. -
Checked Bags = Replaceable Items
Clothes, shoes, bulk toiletries. If your suitcase is delayed, you won't miss your visa interview with CBP because the critical papers stayed with you. -
Never pack passports or I‑20s in checked luggage. Lost bags = missed enrollment.
3. Speed Up Arrival With Mobile Apps
Mobile Passport Control (MPC) and CBP One are official U.S. Customs & Border Protection apps that let you submit passport details and customs declarations before you reach the officer. Benefits:
-
Shorter lines at major airports like ATL, JFK, LAX, and ORD.
-
No paper form 6059B to fill on the plane.
-
Faster primary inspection- just scan the QR code from the app.
Pro‑Tip: Download and create your profile the day before you fly; airport Wi‑Fi can be spotty.
🛬 Understanding the Port of Entry (POE) Flow
Landing in a new country can feel like a maze. Here's a step‑by‑step timeline you can visualize (or turn into an infographic for your notes):
-
De‑plane- Follow "Arrivals" signs.
-
Immigration- Join the "Visitors / Non‑Citizens" queue → Primary inspection booth → Possible Secondary inspection if selected.
-
Baggage Claim- Grab your checked luggage.
-
Customs- Hand in digital or paper declaration; bags may be X‑rayed or sniffed by agriculture dogs.
-
Exit Hall- Meet university pickup, ride‑share, or shuttle.
Time estimate: 30-90 minutes, depending on airport traffic and whether you're sent to Secondary inspection.
🛂 3. Primary Inspection: Your First Stop at U.S. Immigration
After you step off the plane and join the "Visitors / Non‑Citizens" line, you'll go through primary inspection. Here's exactly what to expect so nothing catches you off‑guard.

Automated Passport Control (APC) Kiosks
Some major airports offer APC kiosks that speed up the process for visa‑holders who have previously traveled to the U.S. If it's your first‑ever entry on an F‑1 visa, you'll likely go straight to the officer's booth instead, but it's good to know:
-
Who can use them? Travelers with a valid U.S. visa who have entered at least once before and are from Visa Waiver or select countries.
-
What do the screens show? You scan your passport, answer customs questions, take a quick photo, then receive a receipt to hand the CBP officer.
If kiosks aren't an option, proceed to the next desk.
Meeting the CBP Officer
At the booth, the officer will:
-
Scan your passport & visa.
-
Collect biometrics – fingerprints and a photo.
-
Ask a few quick questions.
Typical questions include:
-
"What's the purpose of your visit?"
-
"Which university will you attend?"
-
"How long will you study?"
-
"Who is funding your education?" (Show bank statements or scholarship letters if asked.)
-
"Where will you live?" (Have your U.S. address ready, even if it's temporary.)
Things to Avoid
-
Giving inconsistent answers that don't match your I‑20 or DS‑160.
-
Forgetting your school's full name or address.
-
Not declaring cash over $10,000 or high‑value gifts.
-
Mentioning intentions outside student status (like "I might work full‑time"). Stick to study plans.
If all looks good, the officer will stamp your passport with "F‑1 / D/S (Duration of Status)" and you're off to baggage claim.
🚦 4. Secondary Inspection: What If You're Pulled Aside?
Don't panic if an officer escorts you to another room, many students go through secondary inspection each day.
Why You Might Be Selected
-
Random spot check (pure luck).
-
Document questions (illegible I‑20, missing signature, funding doubts).
-
Name match to someone on a watchlist.
-
Incomplete customs form or undeclared items.
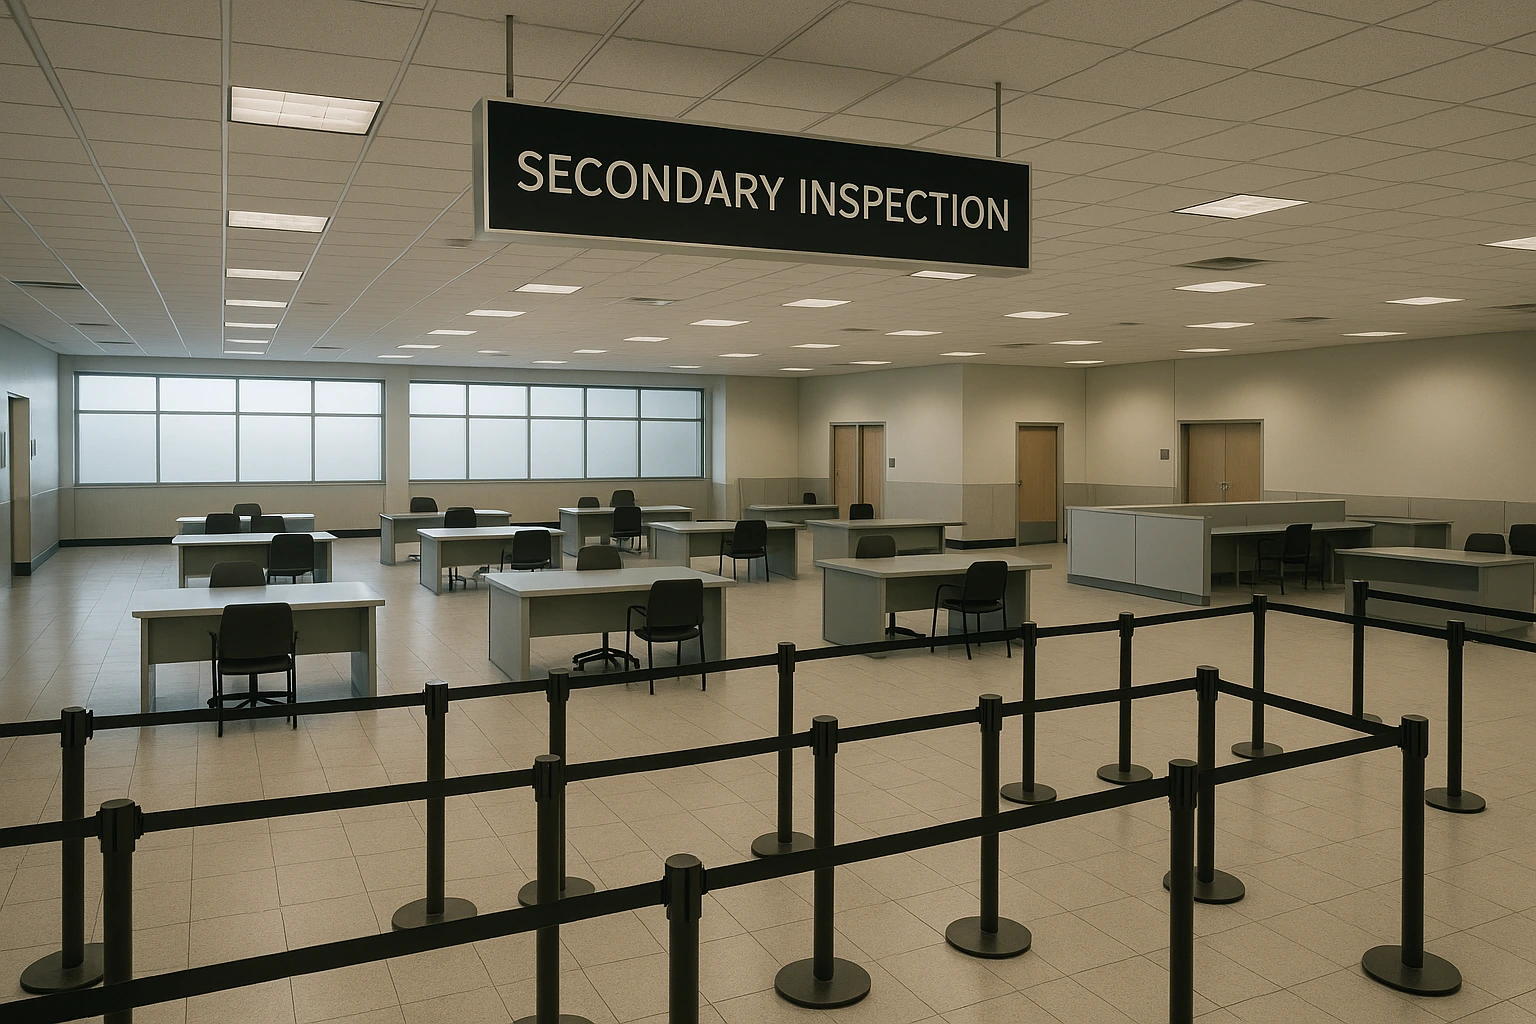
What Happens Inside
-
You'll sit in a waiting area while officers review your file.
-
They may verify documents with your school's Designated School Official (DSO).
-
Expect extra questions similar to primary inspection.
-
In rare cases, officers can search electronic devices to confirm your intent matches a student status.
Typical wait time: 15-60 minutes. Most students are cleared and sent on their way.
How to Stay Calm & Compliant
-
Be honest, concise, and consistent.
-
Show organized paperwork on request- passport, I‑20, SEVIS receipt, admission letter, proof of funds.
-
Ask for a translator if you're not 100 % comfortable in English (CBP must provide one).
-
Stay polite and patient; avoid jokes or defensive tones.
Once cleared, you'll rejoin the normal flow, grab your luggage, clear customs, and head out to start your American adventure.
🧾 5. Customs Declaration: What You Must Declare and Why
Before leaving the secure area, every traveler must clear U.S. Customs. You can do this two ways:
-
CBP Form 6059B (paper card handed out on the plane).
-
Mobile Passport Control (MPC) / CBP One app (faster, no paper).
Duty‑Free Allowances & Food Rules
-
Personal items + gifts valued up to $800 USD are usually duty‑free.
-
Declare all food, even snacks. Unopened, commercially packaged items like chocolate or instant noodles are generally okay.
-
Cash or negotiable instruments > $10,000 USD must be declared (legal to bring, but you must report it).
Prohibited & Restricted Items

Bringing Food from Home: Quick Cheat Sheet

When in doubt, declare it, CBP rarely penalizes honest declarations.
🛄 6. Baggage Claim & Agriculture Screening
After immigration, head to the baggage carousel for your checked luggage.
Luggage Inspection
-
Random X‑ray or canine teams sniff bags for food or drugs.
-
Agriculture officers may open suitcases marked by scanners.
Penalty Risks
-
Undeclared food can mean on‑the‑spot fines from $300 to $1,000.
-
Items are confiscated and destroyed; repeat offenders risk visa flagging.
Stay stress‑free: declare everything edible, even if you think it's allowed.
🚖 7. Final Exit & Transportation: Getting to Campus
Porter vs. Cart Costs
-
Most U.S. airports have baggage carts ($5–$8, card or Apple Pay).
-
Porters (uniformed helpers) charge per bag or expect $2–$3 tip each bag.
Ride Options

Emergency Contacts to Keep Handy
-
International Office Hotline (check your school's website)
-
Airline Baggage Desk (for lost luggage)
-
Your Country's Consulate in the arrival city
Save these numbers in your phone and on a paper backup.
By following these tips, you'll ensure that your arrival in the U.S. goes as smoothly as possible. From packing your most important documents in your carry-on to understanding the customs process, preparation is key. Take advantage of technology like Mobile Passport Control to save time, and stay calm and organized as you navigate through immigration and customs. Once you're cleared, it's time to enjoy your new chapter and dive into university life. Safe travels, and welcome to the U.S.!
FAQs
1. What should I pack in my carry-on for my arrival in the U.S.?
Your carry-on should contain essential items like your passport, visa, I-20, medications, electronics, and one change of clothes. This ensures you have everything you need in case your checked luggage gets delayed.
2. Can I pack my passport and I-20 in checked luggage?
No, never pack your passport, visa, or I-20 in checked luggage. These are critical documents that you'll need to keep with you during your journey.
3. How do Mobile Passport Control and CBP One apps help me at the airport?
These apps allow you to submit your passport details and customs declaration in advance, reducing wait times at major U.S. airports and eliminating the need to fill out paper forms.
4. What happens if I get selected for Secondary Inspection at the airport?
Being selected for Secondary Inspection is usually a routine procedure. You may be asked additional questions or have your documents reviewed more carefully. Stay calm, be honest, and provide requested documents. It's often a quick process.
5. What should I do if I'm unsure how to answer a question during my immigration inspection?
If you're not sure about a question or need assistance, politely ask the officer to clarify. If you're not fully comfortable with English, you have the right to request a translator.
6. Do I need to declare food when I enter the U.S.?
Yes, you must declare all food items you're bringing into the U.S., even if you think they're allowed. Failure to declare food can lead to fines or confiscation.
7. What should I do if my luggage is delayed or lost?
If your luggage doesn't show up at baggage claim, head to your airline's baggage desk immediately to report it. Make sure to keep any documentation of the delay.
8. How do I get from the airport to my university?
Most U.S. airports offer several transportation options including ride-shares, shuttle services, and public transit. It's a good idea to check with your university about pickup services before you travel.
9. What are the most common questions U.S. immigration officers ask students at the border?
Officers typically ask about the purpose of your visit, the university you'll attend, how long you plan to study, and your funding source. Be ready with the details from your I-20, DS-160, and proof of funds.
10. What do I do if I need emergency assistance after arriving?
Save important emergency contacts, such as your university's international office hotline and the local consulate, in both your phone and on paper in case of any unexpected situations.
Stay Ahead with Exclusive Insights!
Subscribe to our newsletter for the latest updates, career opportunities, and expert tips delivered straight to your inbox. Join our community and never miss out!


Understanding the I-20 Form: What It Is and Why It Matters?
🕒June 14, 2025
Discover everything you need to know about the I-20 form, from its importance to how to use it for your U.S. student visa, travel, and university onboarding.

How to Open a U.S. Bank Account & Build Credit as a F-1 Student
🕒June 6, 2025
Learn how to open a U.S. bank account, manage money smartly, & build credit as an international student, even without an SSN. Simple, step-by-step guide.

How to Ace Your MS in the U.S. - 10 Smart Strategies
🕒June 4, 2025
Discover 10 smart strategies to excel in your MS program in the U.S., from academic tips to networking and career planning for long-term success.